VPN Configuration Guide for Sensitive Cloud
This is a new version of Sensitive Cloud VPN, it uses a new client and method of obtaining VPN configurations. Old details of VPN service are still available here
A Virtual Private Network (VPN) allows secure access to environments that are isolated from the public internet. At CERIT-SC, we use WireGuard VPN technology. To begin using the VPN, you must first request access and receive the necessary configuration details.
Please refer to the next section for instructions on how to obtain access.
To gain access to secure resources via Sensitive Cloud VPN, contact our support team at:
trusted(at)e-infra.cz. By default, the VPN profile comes together with a project allocation in compute container cloud or storage.
Connecting to the VPN with Sensitive Cloud VPN
-
Install eduVPN Client
Download the eduVPN installer for your prefered platform here and follow the installation instructions. -
Run the
eduVPN Clienton your computer. -
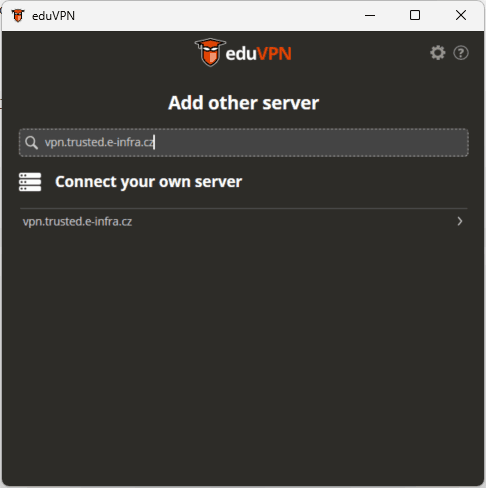
Enter the insitution to connect with:
vpn.trusted.e-infra.cz
-
After selecting
vpn.trusted.e-infra.cz, you will be redirected to the browser to login to your e-INFRA CZ account. You will have to authorize your client to establish the connection to the Sensitive Cloud VPN.
-
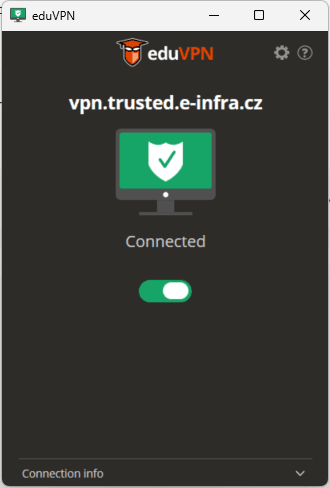
Toggle switch to establish the connection and done!

About the Sensitive Cloud VPN
- Your IP Address might change - it’s not a static lease of IP address for your client.
- You might use as many devices as you want with concurent use of VPN.
- Each Sensitive Cloud VPN project (bound to compute or storage project) supports up to 64 concurent connections1
1 - exceptions might apply for bigger research groups
More eduVPN instances at the same time?
Due to the limitations of eduVPN software, it is not possible to run two eduVPN instances and have more than one VPN tunnel active.
You may hovever use the Wireguard + eduVPN at the same time, therefore it is possible to obtain “static configuration” at your organization’s eduVPN portal and use it for Wireguard software manually.
Static configuration for vpn.trusted.e-infra.cz is currently not possible to obtain through eduVPN.
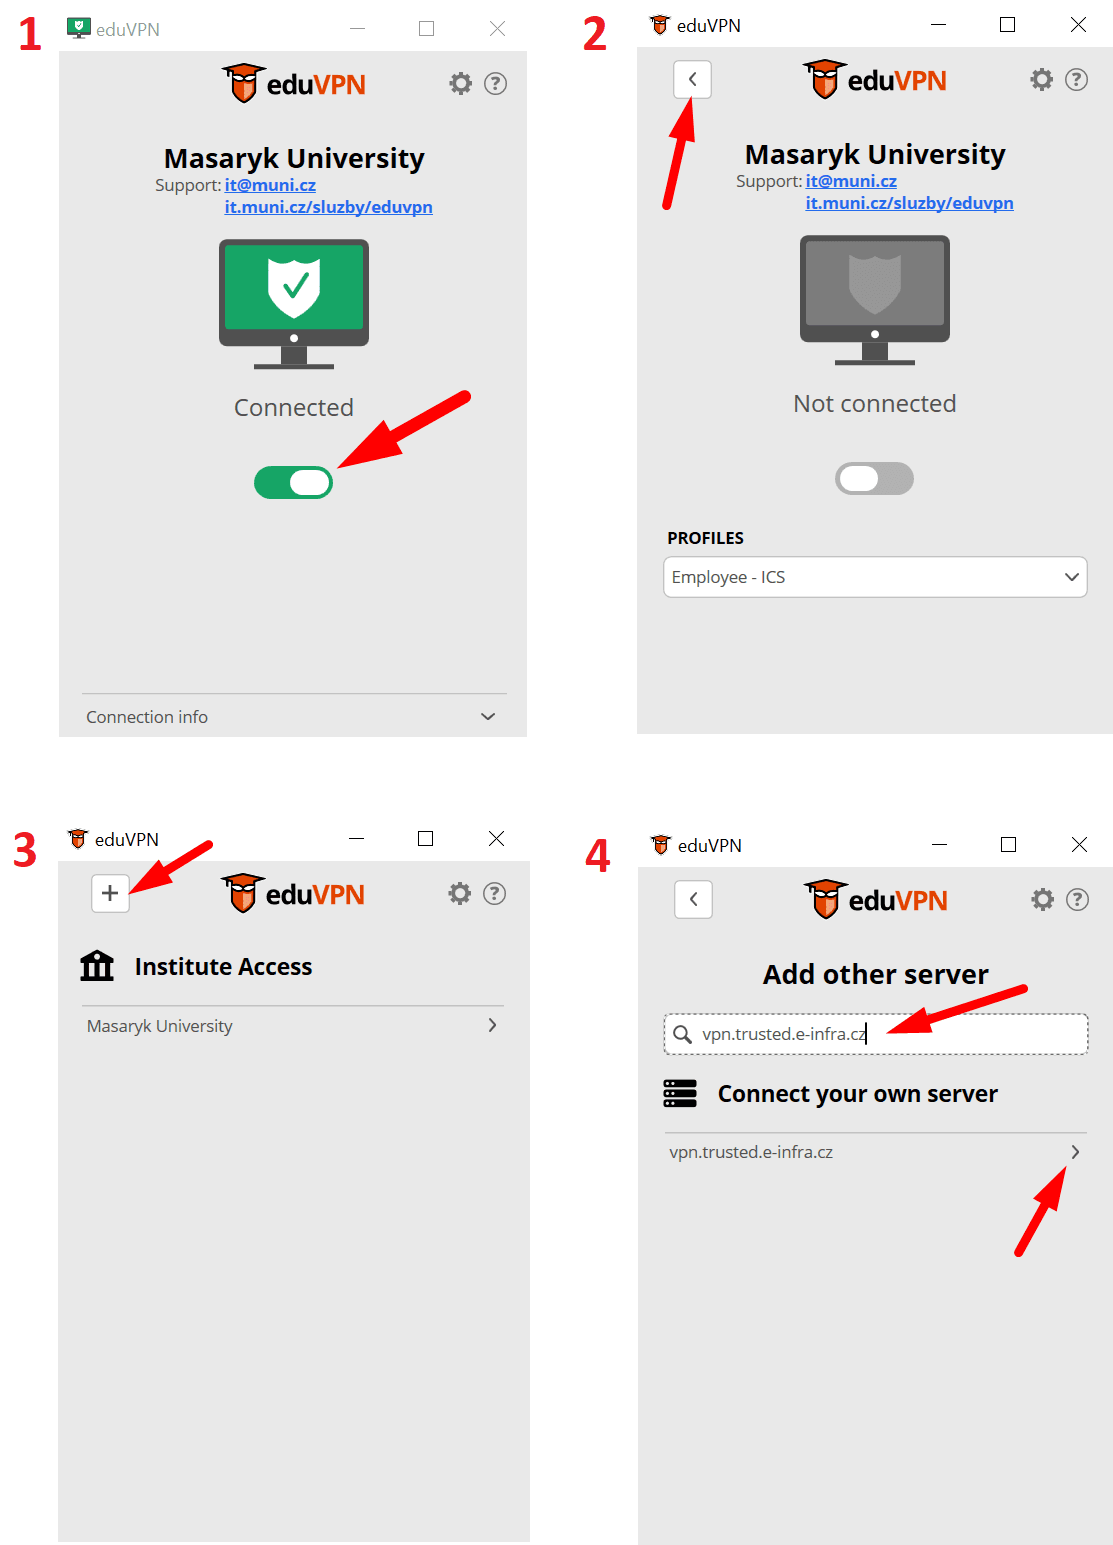
Switching from my organization’s eduVPN
If your organization is using eduVPN, you will need to switch organizations from yours to vpn.trusted.e-infra.cz first.

Machine-to-Machine access?
In case you need the static lease of IP address for VPN tunneling to Sensitive Cloud, it is possible to hand static Wireguard connection profile. This can be arranged upon your request at e-mail trusted@e-infra.cz.
Last updated on
